Part 3: The Guardian — IDS Tuning & DoS Defense
Introduction
In our journey so far, we’ve built a functional virtual network and hosted a vulnerable target behind a pfSense firewall. Now, we’re taking it to the next level by transforming our lab into an intelligent system that doesn’t just block traffic, but “sees” and “stops” attacks in real-time. In this part, we’ll focus on Active Defense using Suricata IDS/IPS and implementing advanced protections against Denial of Service (DoS) attacks.
[!NOTE] During testing, the
emerging-sql.rulesandemerging-web_specific_apps.rulesdid not consistently trigger expected alerts. This behavior is commonly observed in lab environments where traffic visibility is limited — for example, when using NAT-based virtualization, encrypted HTTPS traffic, or improperly configured network variables (e.g.,HOME_NET).Despite multiple validation attempts, the issue could not be reliably reproduced or resolved within this setup. These rules are therefore included for reference, as they are known to function correctly in environments with full packet visibility (e.g., properly configured bridged networks or physical deployments with TLS inspection enabled).
7. Suricata IDS Setup
7a. Install & Update Rules
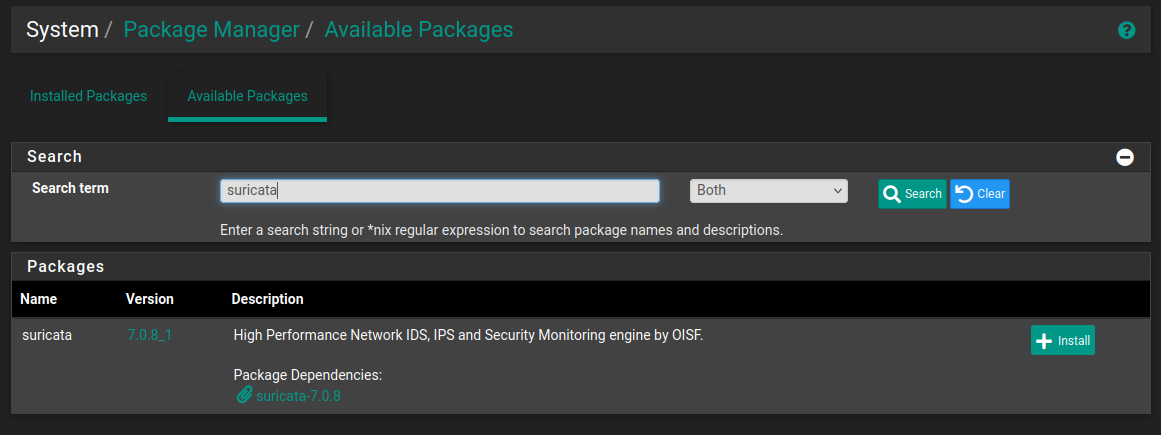
- Go to Services > Package Manager and install Suricata.
- Go to Services > Suricata > Global Settings.
- Check Install ETOpen Emerging Threats rules.
- Go to the Updates tab and click Update to download the latest signatures.
7b. Interface Setup
- Go to Services > Suricata > Interfaces and click Add.
- Set Interface to
WAN(to inspect traffic before it hits Ubuntu). - Ensure “Send Alerts to System Log” is checked.
7c. Add a Custom SQLi Detection Rule
- Go to Services > Suricata > Interfaces.
- Click the Edit (Pencil) icon for your WAN or LAN interface.
- Go to the Rules tab.
- Select Custom Rules from the Category dropdown.
- Paste this rule exactly:
1
alert tcp any any -> any 80 (msg:"ADLIP LAB - SQL INJECTION DETECTED"; content:"UNION"; nocase; sid:9000001; rev:1;)
- Click Save.
- Go to the Interfaces tab and click the Restart (blue circular arrow) icon.
- Wait for the Green Play icon to reappear.
Test from Kali:
1
curl -v "http://192.168.1.10/test?query=UNION"
Then check Services > Suricata > Alerts for the triggered alert.
7d. Enable Emerging Threats SQL Rules
- Click Edit on your WAN interface in Suricata.
- Go to WAN Categories.
- Find and enable:
emerging-sql.rulesemerging-web_specific_apps.rules
- Click Save.
- For each ruleset, select it from the Category dropdown → click Enable All (green checkmark).
- Save and restart the interface.
7e. Fix: Hardware Checksum Offloading (VirtualBox Users)
This is a common “silent killer” for Suricata in VirtualBox — if skipped, Suricata will generate no alerts.
- Go to System > Advanced > Networking.
- Check the box: Disable hardware checksum offload.
- Save and Reboot the pfSense VM.
7f. Silence QUIC Protocol Noise
Suricata may flood alerts about encrypted QUIC (Port 443 UDP) traffic from your browser. This is background internet traffic — not your lab attacks.
Option A — Disable noisy rule categories:
- Go to Services > Suricata > Interfaces > Edit WAN > WAN Categories.
- Uncheck
decoder-events.rules. - Uncheck
app-layer-events.rules. - Click Save, clear existing alerts, and restart Suricata.
Option B — Add a Suppression Rule:
- Go to Services > Suricata > Suppress and click Add.
- Name it
Suppress_QUICand paste:
1
suppress gen_id 1, sig_id 2231000
- Click Save.
- Go to Suricata > Interfaces > Edit WAN.
- Select
Suppress_QUICfrom the Alert Suppression and Filtering dropdown. - Save and Restart the interface.
7g. Test SQLi Detection
Run a loud SQL injection payload from Kali:
1
curl -v "http://192.168.1.10/login.php?id=1%27%20UNION%20SELECT%20null,user()"
Check Services > Suricata > Alerts — you should see your custom rule fire.
8. DoS Attack Detection
8a. Configure Rate Limiting on the Firewall Rule
- Go to Firewall > Rules > WAN.
- Edit the rule: Allow External Web Access to DVWA.
- Scroll down and click Display Advanced.
- Set the following values:
| Field | Value | Purpose |
|---|---|---|
| Max. connections | 50 | Limits total established TCP connections per host |
| Max. src. conn. Rate | 5 | Max new connections per time interval |
| Max. src. conn. Rates | 2 | Interval in seconds (5 new connections per 2 seconds) |
| State timeout | 10 | Kills half-open connections after 10 seconds |
- Save and Apply Changes.
8b. Launch a SYN Flood from Kali
1
2
# -S = SYN flag | -p 80 = target port | --flood = send as fast as possible
sudo hping3 -S -p 80 --flood 192.168.1.10
8c. Observe pfSense Blocking the Attack
- Go to Status > System Logs > Firewall.
- Open the Normal View or Dynamic View tab.
- You should see red Block icons for traffic from your Kali IP.
pfSense detects that Kali is exceeding the 5 connections/second limit and automatically drops its packets to protect the Ubuntu/DVWA server.
Key Concepts
Stateful Packet Inspection (SPI)
SPI is a firewall technology that monitors the state of active network connections and uses that context to inspect packets.
This means pfSense tracks both the outgoing request and the returning response as part of the same “connection state” — you do not need a separate rule to allow the reply traffic back in.
Quick Reference
| Component | IP Address | Port |
|---|---|---|
| pfSense WAN | 192.168.1.10 | — |
| pfSense LAN | 192.168.2.1 | — |
| pfSense WebGUI (from Ubuntu) | https://192.168.2.1 | 8090 |
| pfSense WebGUI (from Host) | https://192.168.1.10 | 8090 |
| Ubuntu / DVWA | 192.168.2.10 | 80 |
| DVWA Login | — | admin / password |
| pfSense Login | — | admin / pfsense |